

Requested within 1 minute
Answer a few short questions and receive an estimated price in your email within a few days.
Contact us
 200+ satisfied customers went before you


Get inspired here by our projects!
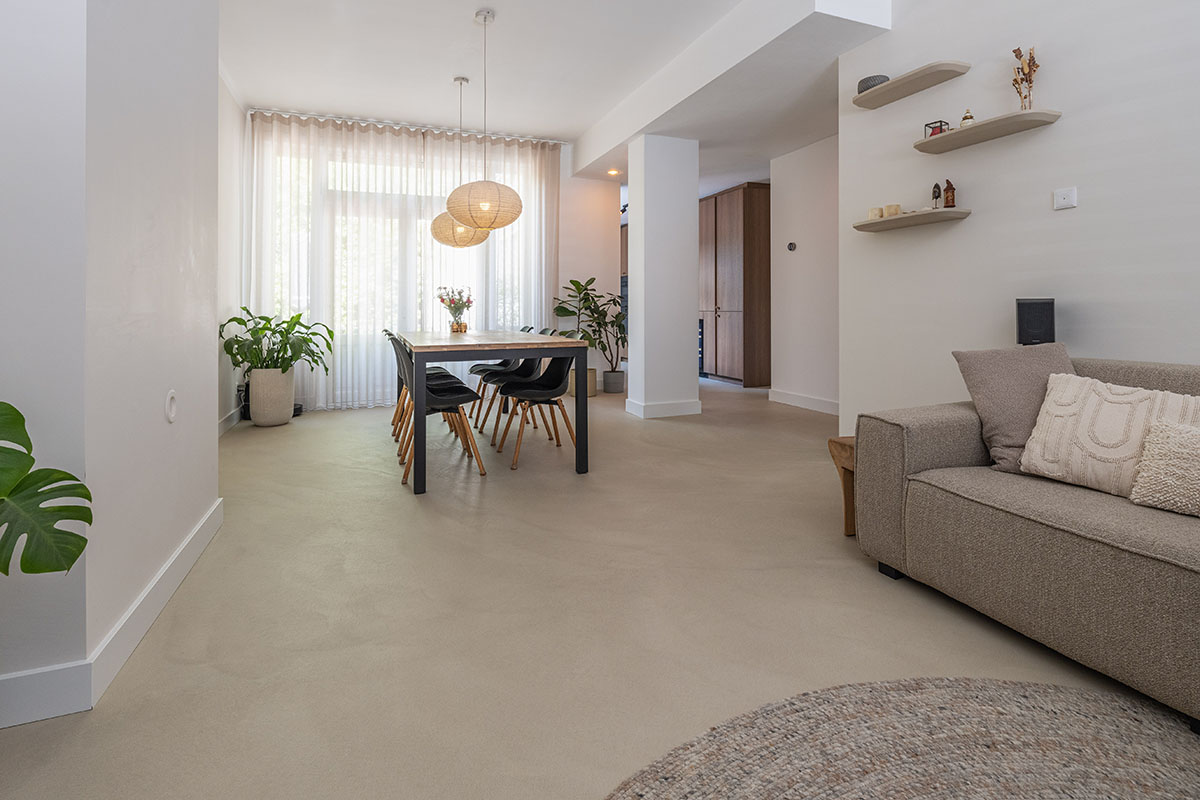
With a beton ciré resin floor, you choose a stylish base with a tough character. The calm concrete look gives every room a contemporary and industrial appearance, without feeling cold. Thanks to the seamless finish, the floor looks sleek and calm, which contributes to a spacious effect.
Beton ciré is beautiful to look at and practical in daily use. The subtle colour nuances and texture give the floor a unique look that fits perfectly with modern interior styles. An ideal mix of design, character and ease of use.
See if the stylish concrete ciré resin floor with subtle concrete look effect fits in your space:


Sleek floor with subtle concrete look effect

No joints and no dirt, so it is easy to keep clean

Works perfectly with a warm surface
A resin floor is custom work. That's why we guide you step by step: personally, clearly, and without fuss. This way, you know exactly what to expect, from start to finish.

We discuss the requirements, wishes, and situation. You receive honest advice and a clear price.

Before we start, we check the surface and environment and carefully coordinate the planning with you. This is how we lay the foundation for a sleek, carefree realization of your new resin floor.
After thorough preparation, we install the cast floor with care, craftsmanship, and attention to detail.
Answer a few short questions and receive an estimated price in your email within a few days.
A resin floor is versatile and forms a defining element for the atmosphere in any room. Looking for a warm, atmospheric base for your home or a sleek, durable floor for your business? We always offer a solution that matches both the look and the functional use of the space. This is how we create the perfect floor for your home together.
No color samples available
We are happy to help you. You'll always receive honest advice and a non-binding price estimate.

Your question might already be answered among our frequently asked questions. If not, feel free to send us a message. You'll get a quick response.
Applying a resin floor is a precise and labour-intensive process that takes on average 4 to 5 days. The size of the space has barely any effect on this. Larger spaces simply mean more craftsmen are deployed. Because the resin floor is built up layer by layer, and each layer needs to dry or cure in between, the total duration stays the same.
The exact planning depends on the type of resin floor you choose:
1. Polyurethane (PU) resin floor
2. Lava stone or microcement
After a good week of craftsmanship, the seamless floor is finished and the drying time can begin.
A resin floor needs time to fully cure. After 3 days, the floor can carefully be walked on, but it's important not to put heavy loads on it or use it intensively yet. The floor must also not get wet yet.
Only after 7 days is the resin floor fully cured. From that moment on, the floor can be used under normal loads, you can put the furniture back, and the floor is ready for daily use.
Do any additional works need to take place after the resin floor has been laid? Then the floor may be covered after 7 days. Always use a liquid-tight but vapour-permeable floor protection sheet. This keeps the floor protected while any remaining moisture can still escape.
The cost of a resin floor depends on various factors, such as the chosen material, the total number of square metres and the situation on site. In general: the larger the surface area, the lower the price per m2.
In addition, the shape of the room(s), the number of floors, the presence of, for example, shower drains and the condition and composition of the subfloor also affect the price.
On average, the cost of a resin floor is between €80 and €150 per m2, including installation. Different indicative prices apply for bathrooms: a bathroom floor is available from €125 per m2 and bathroom walls from €175 per m2.
Please note that we work with a minimum order value of €2.500. All prices mentioned are exclusive of VAT.
Want to know what a resin floor would cost in your situation? Request a no-obligation quote in just 1 minute.
With normal use and proper maintenance, a resin floor lasts between 10 and 20 years. Polyurethane resin floors are somewhat more sensitive than lava stone and microcement. Often, after this period, the floor itself isn't worn out, but the top layer (the lacquer) needs replacing. By applying just a new layer of lacquer, the floor can last for many more years.
Yes, absolutely. Thanks to its thin layer, the floor conducts heat excellently, allowing the space to warm up quickly and evenly.
Before the resin floor is applied, it's important to always carry out a heating-up protocol. This involves heating and cooling the underfloor heating according to a fixed schedule, allowing the subfloor to shrink and expand beforehand. Any tension or shrinkage cracks then occur before the resin floor is applied, significantly reducing the chance of problems afterwards.
In short: a resin floor and underfloor heating are an excellent combination, provided the subfloor is properly prepared and installed according to the correct CUR and NEN recommendations.
Yes, this is almost always possible. The tiles must be stable and firmly fixed, and any loose tiles are replaced beforehand. With an existing tiled floor, the tiles are first thoroughly cleaned and degreased, and then intensively sanded with diamond tools. A special primer is used for proper adhesion, after which the tiles are levelled so that the grout lines no longer show in the final result. Any desired resin floor can then be laid on top of the tiles.